For some brides, doing your own wedding makeup is the ultimate expression of personal style — and with the right tips, it can look every bit as polished as a professional artist’s work. Whether you’re saving on vendors, prefer a hands-on approach, or simply want full control of your bridal look, this guide has you covered.
Step 1: Understand Your Skin Type
Knowing your skin type is essential to creating a flawless finish that lasts from “I do” to the last dance.
Here’s how to identify your skin type:
Oily Skin: Shiny and greasy by midday, foundation tends to slide off.
Dry/Sensitive Skin: Tight, flaky areas (often on the nose, cheeks, or forehead), sometimes red or irritated.
Combination Skin: Oily T-zone (forehead, nose, chin) but dry elsewhere.
Normal Skin: Balanced and smooth — lucky you! Follow tips for dry skin to maintain your glow.
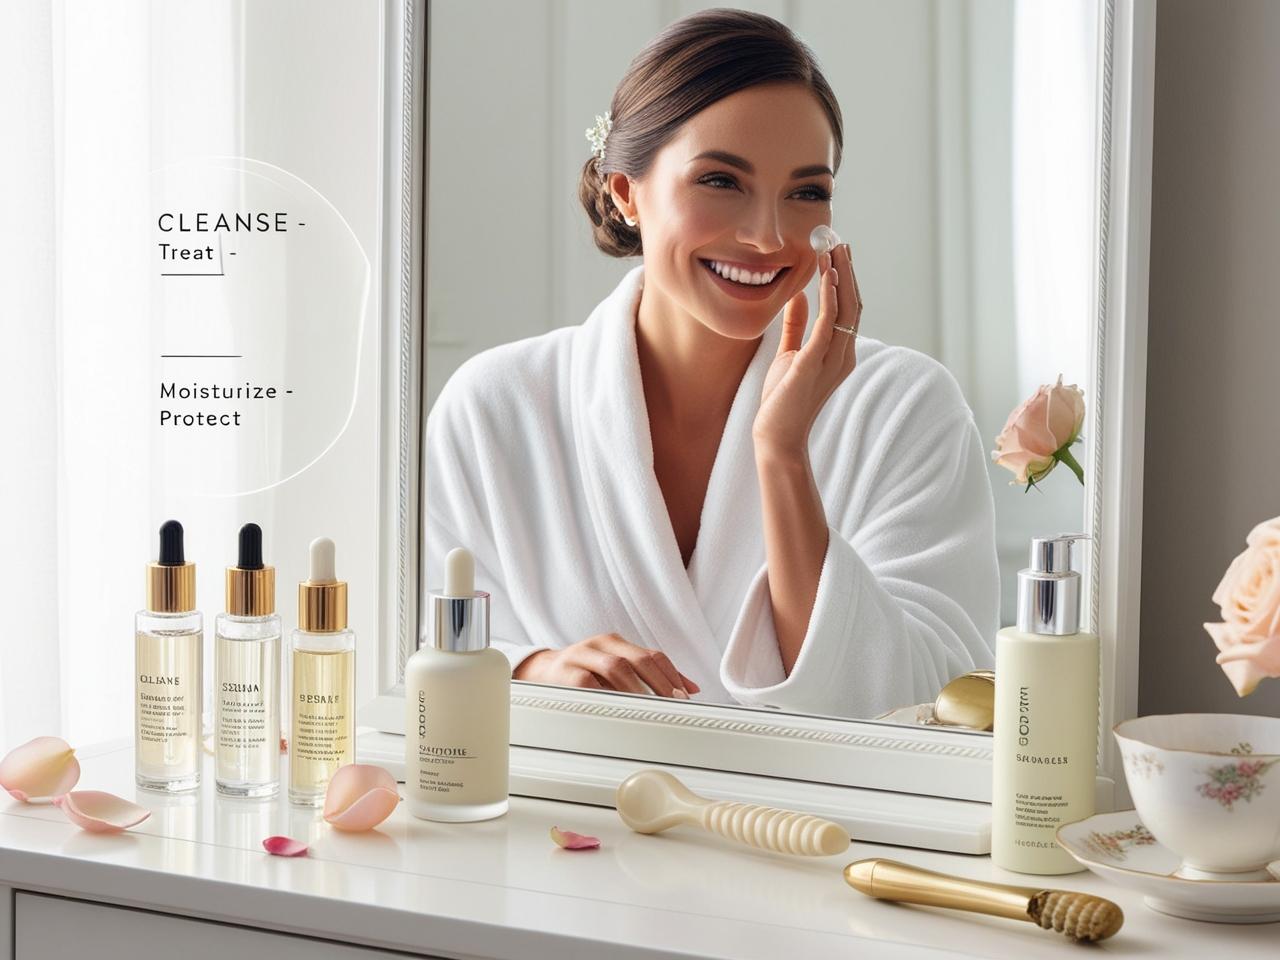
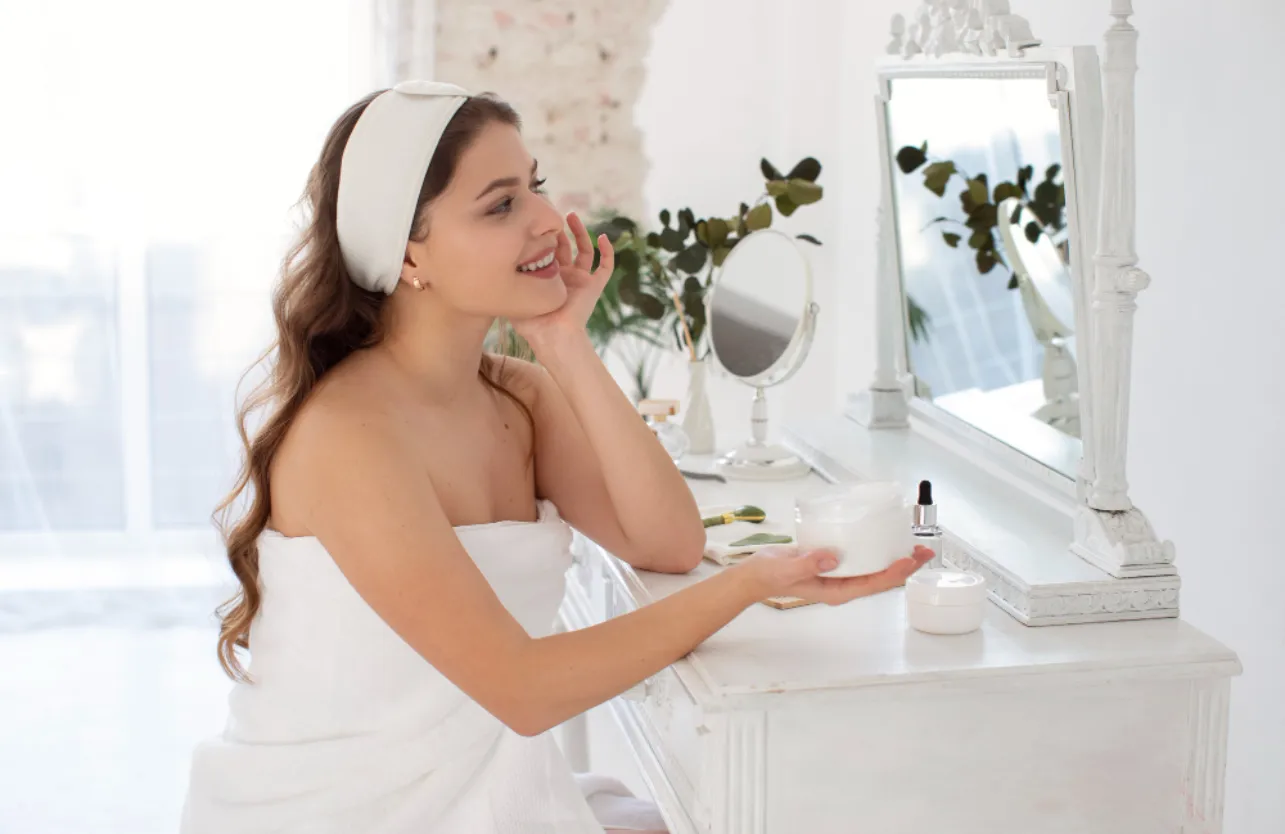
Step 2: Prep and Prime Like a Pro
Skincare is non-negotiable. A smooth base means long-lasting, camera-ready makeup.
Cleanse & Tone:
Use a gentle exfoliating toner like MAC Softening Lotion to remove texture and prep your skin.
Moisturize:
Even oily skin needs hydration! Try Bobbi Brown Water Fresh Cream to plump and smooth.
Prime:
Choose a primer based on your skin type.
- Oily skin → Benefit POREfessional
- Dry/sensitive → MAC Moisture Infusion
- Combination → Apply a hydrating base, then oil-control primer in the T-zone.
Tip: Apply primer with your fingers, moving outward for even coverage.
Step 3: Create a Flawless Base
Stick close to your everyday foundation type for comfort — just refine it for photo perfection.
Dry skin: Charlotte Tilbury Airbrush Flawless Foundation for a radiant glow.
Oily skin: L’Oréal Infallible 24hr Matte Foundation for a shine-free finish.
Combination: Clinique Beyond Perfecting Foundation balances both worlds.
Add concealer in a triangle under the eyes for brightness, and set everything with a translucent setting powder (avoid white-based powders that cause flashback!).
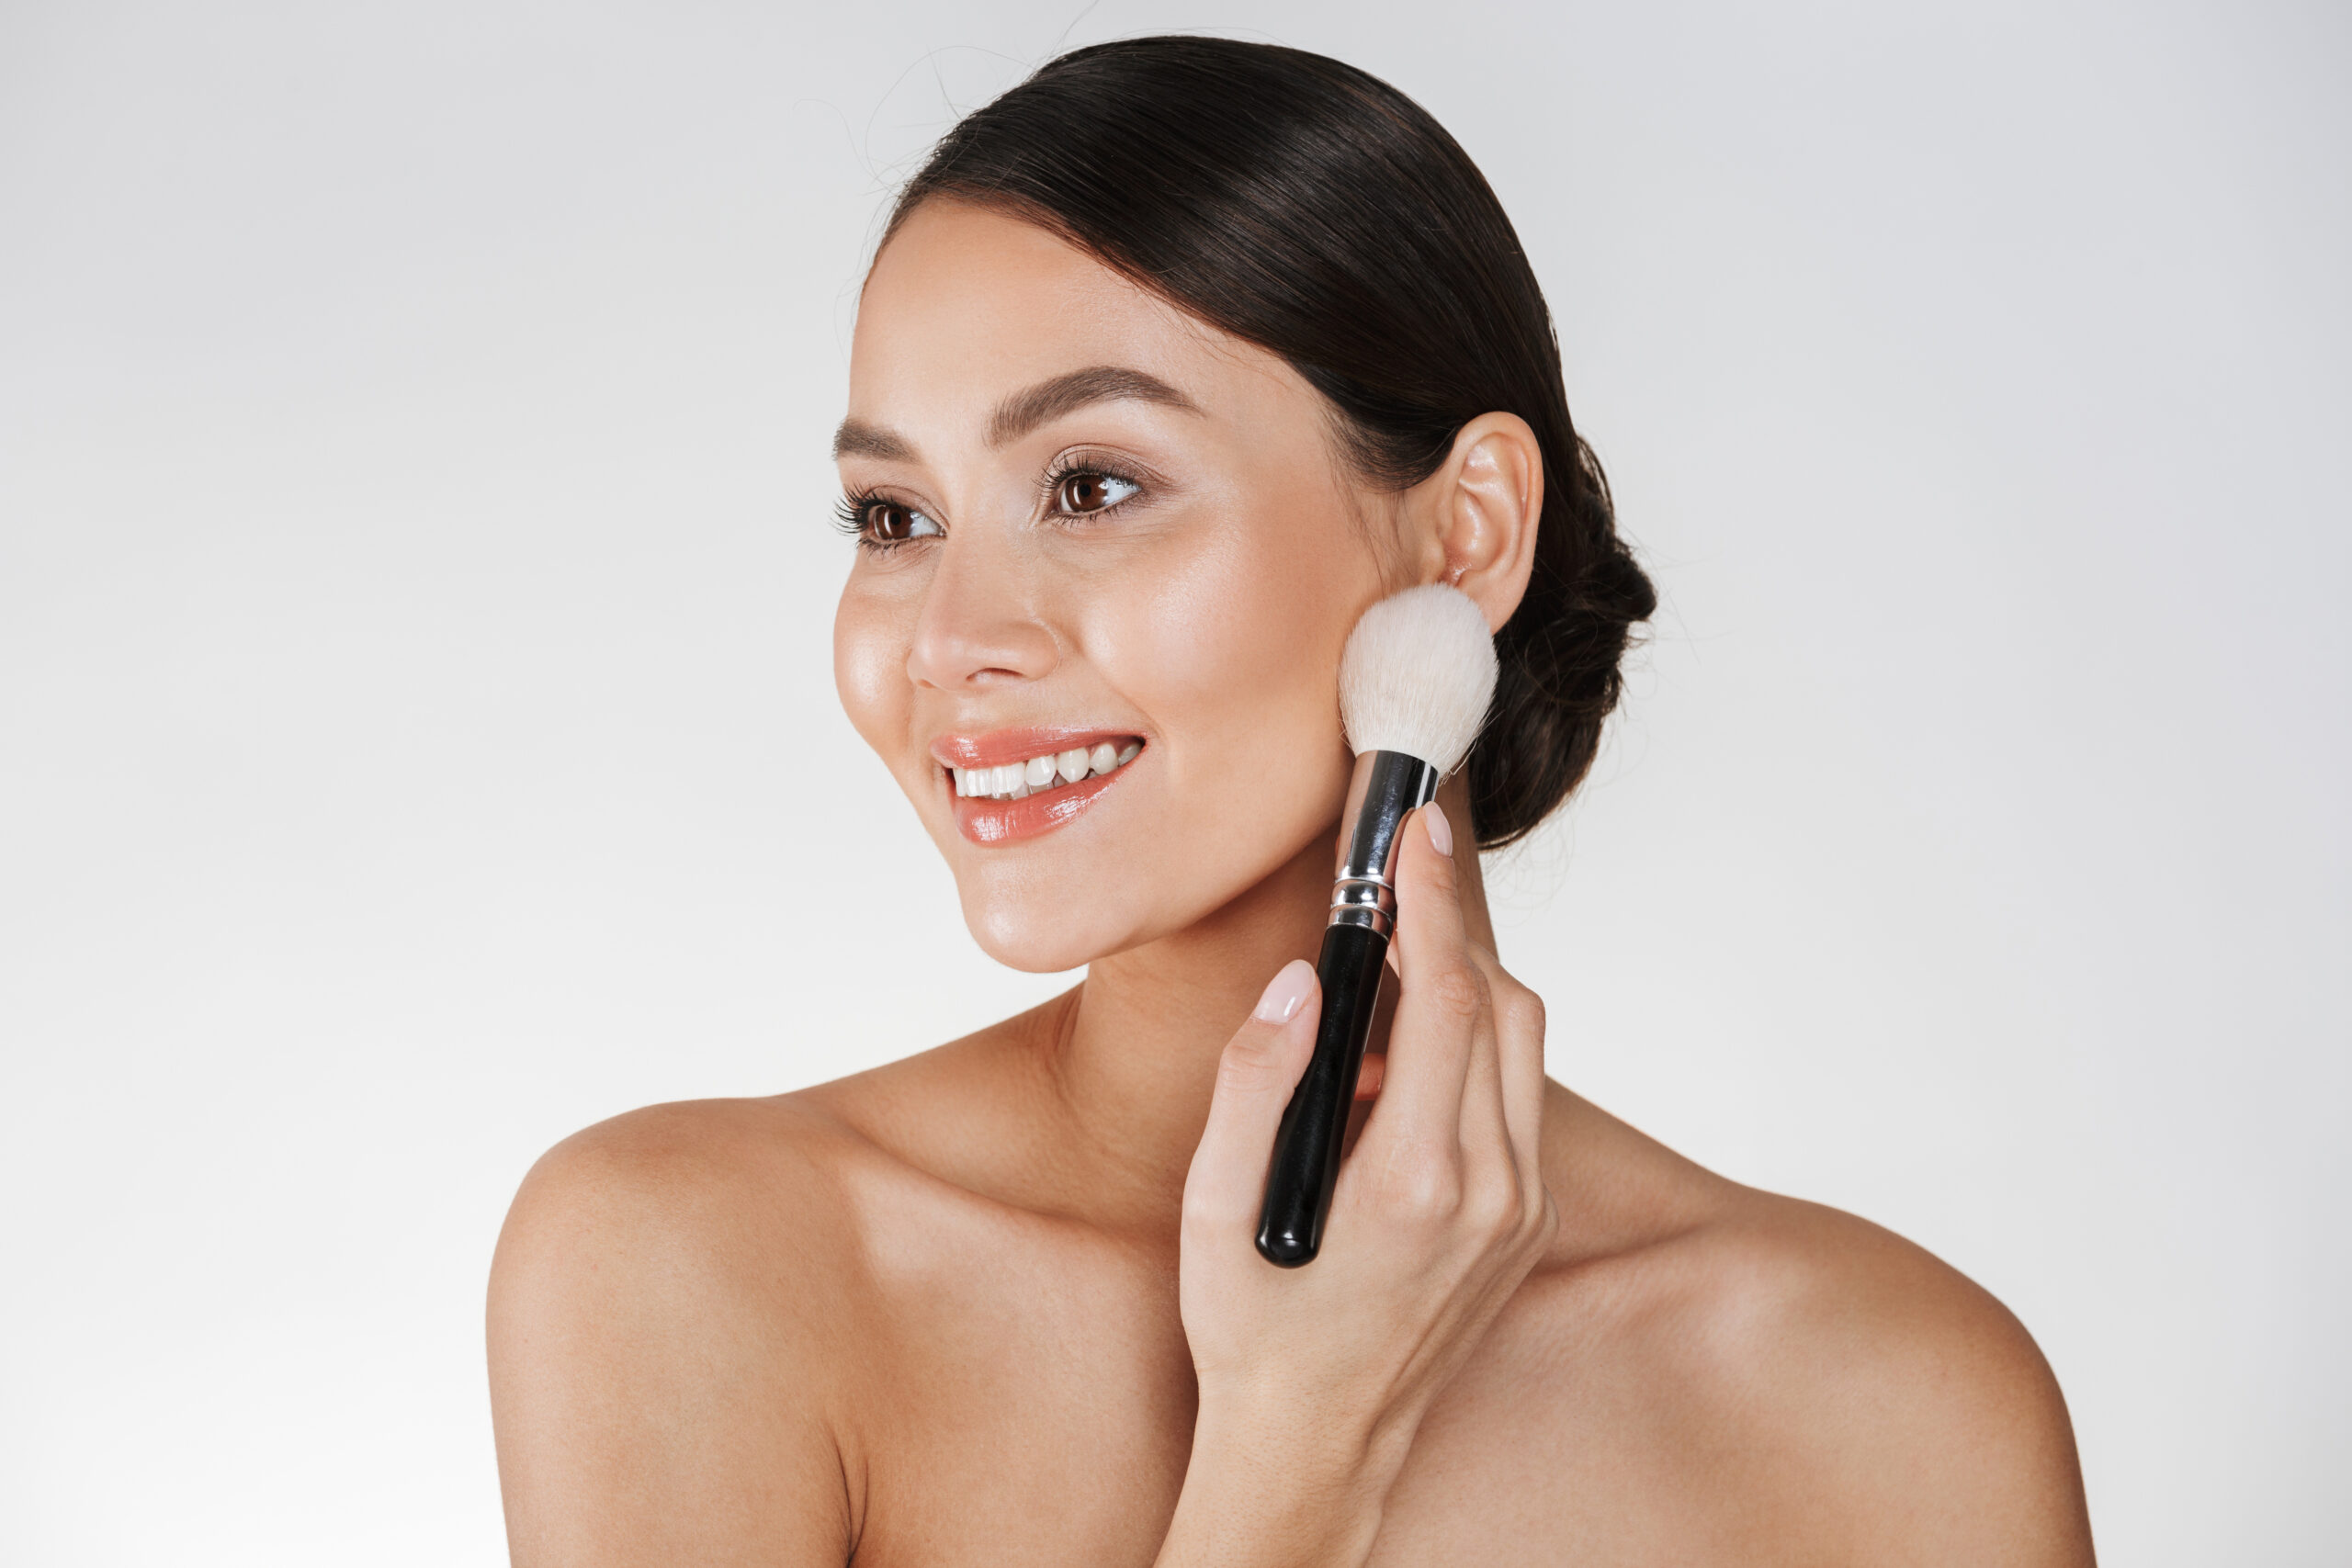
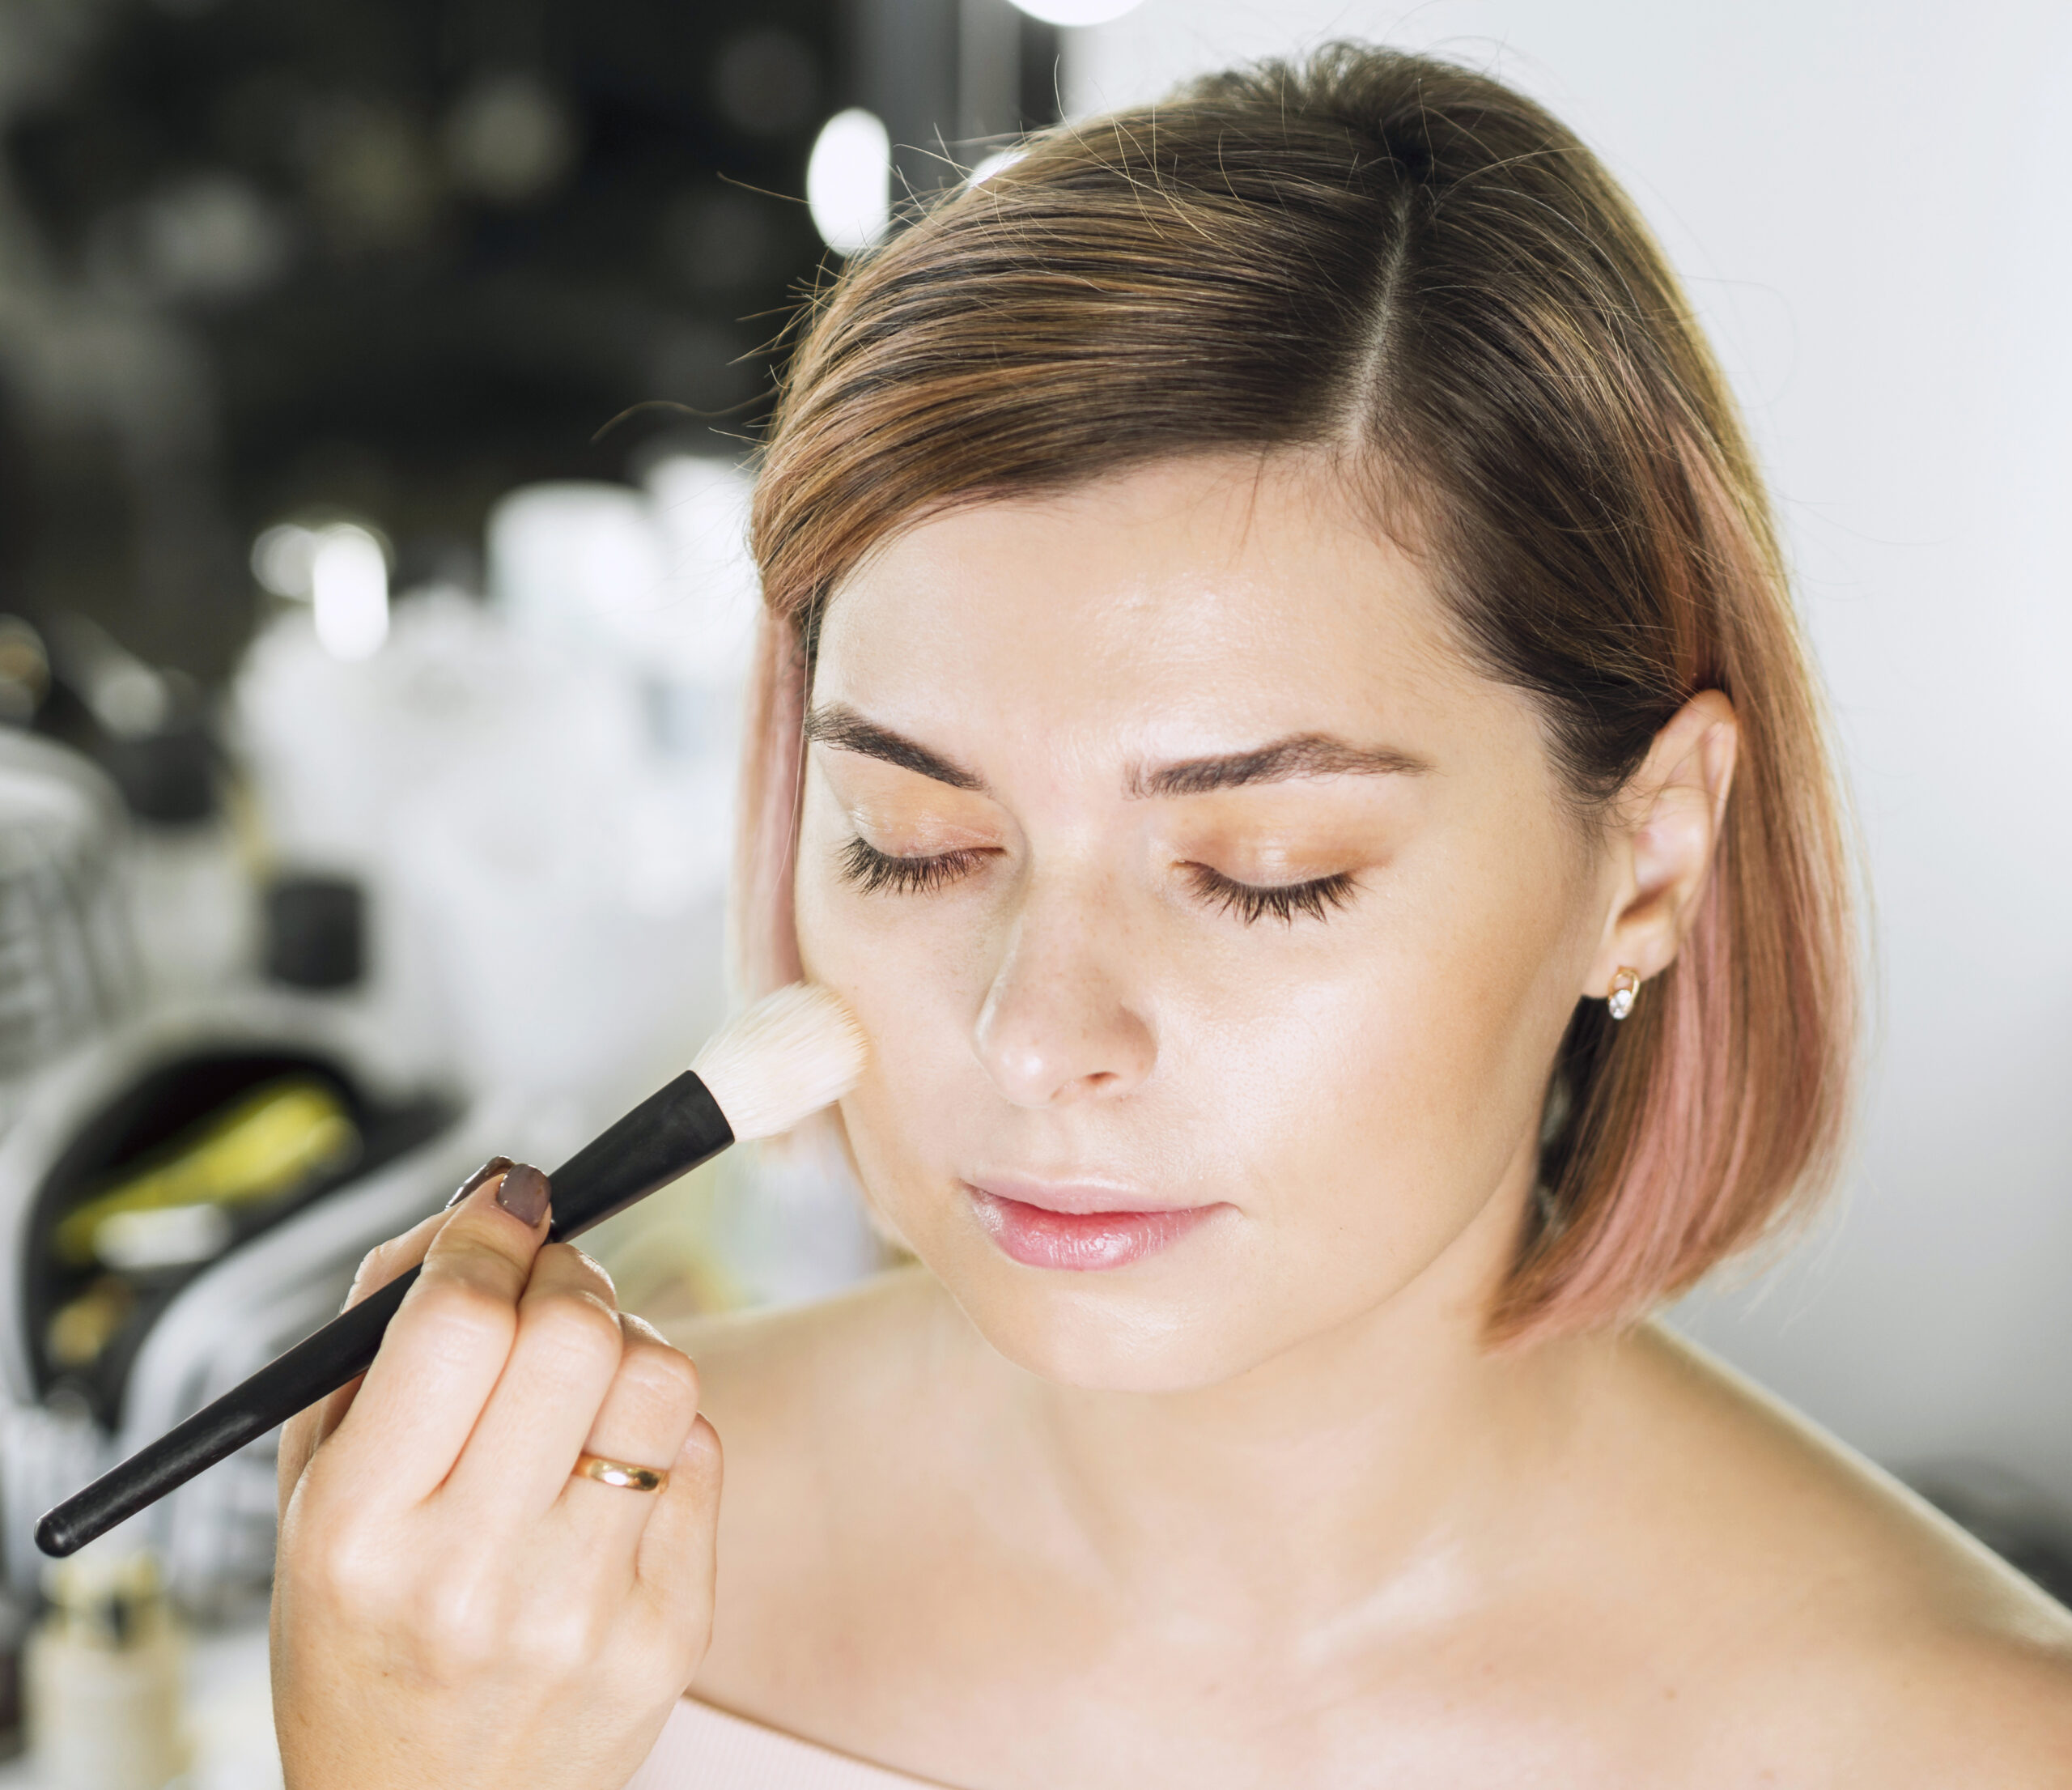
Step 4: Cheeks – Blush, Bronze & Glow
Bronzer: Sweep in a soft “3” shape along the forehead, cheeks, and jawline.
Blush: Apply to the apples of your cheeks, blending upward.
Highlighter: Press onto high points of your face — cheekbones, nose bridge, and cupid’s bow.
Trend: Liquid blush and cream highlighters are in! They melt into the skin for a dewy, natural finish.
Make sure your skin is clean and fresh prior to application by cleansing and toning.
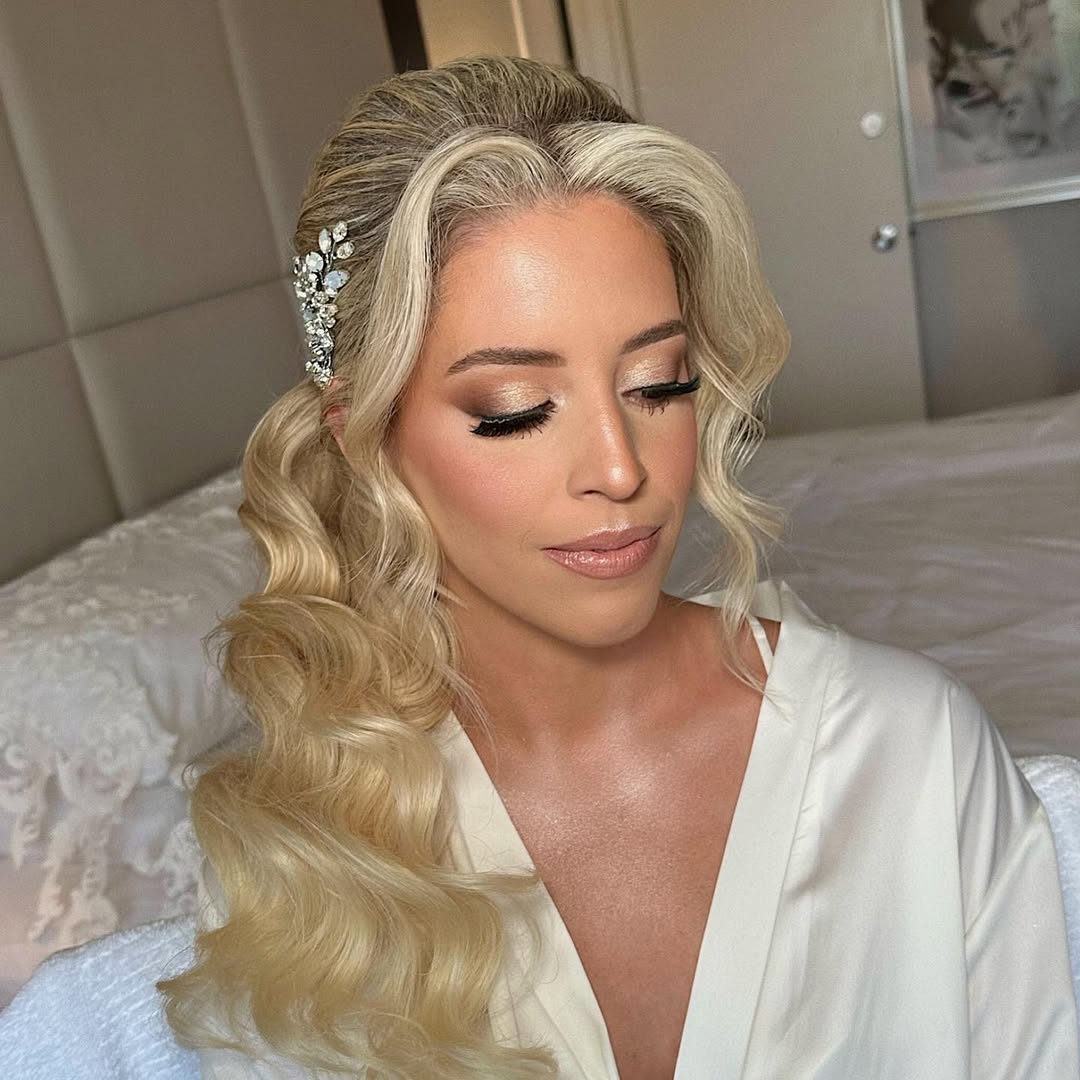
Step 5: Eyes That Wow
Keep it elegant and timeless with soft browns, taupes, and champagne shimmer — think “barely-there glam.”
Trend: Soft monochrome eyeshadow looks in rose, terracotta, or nude tones.
Blend your shadows well, and always use waterproof mascara (hello, happy tears!).
 Via makeupbybrielle
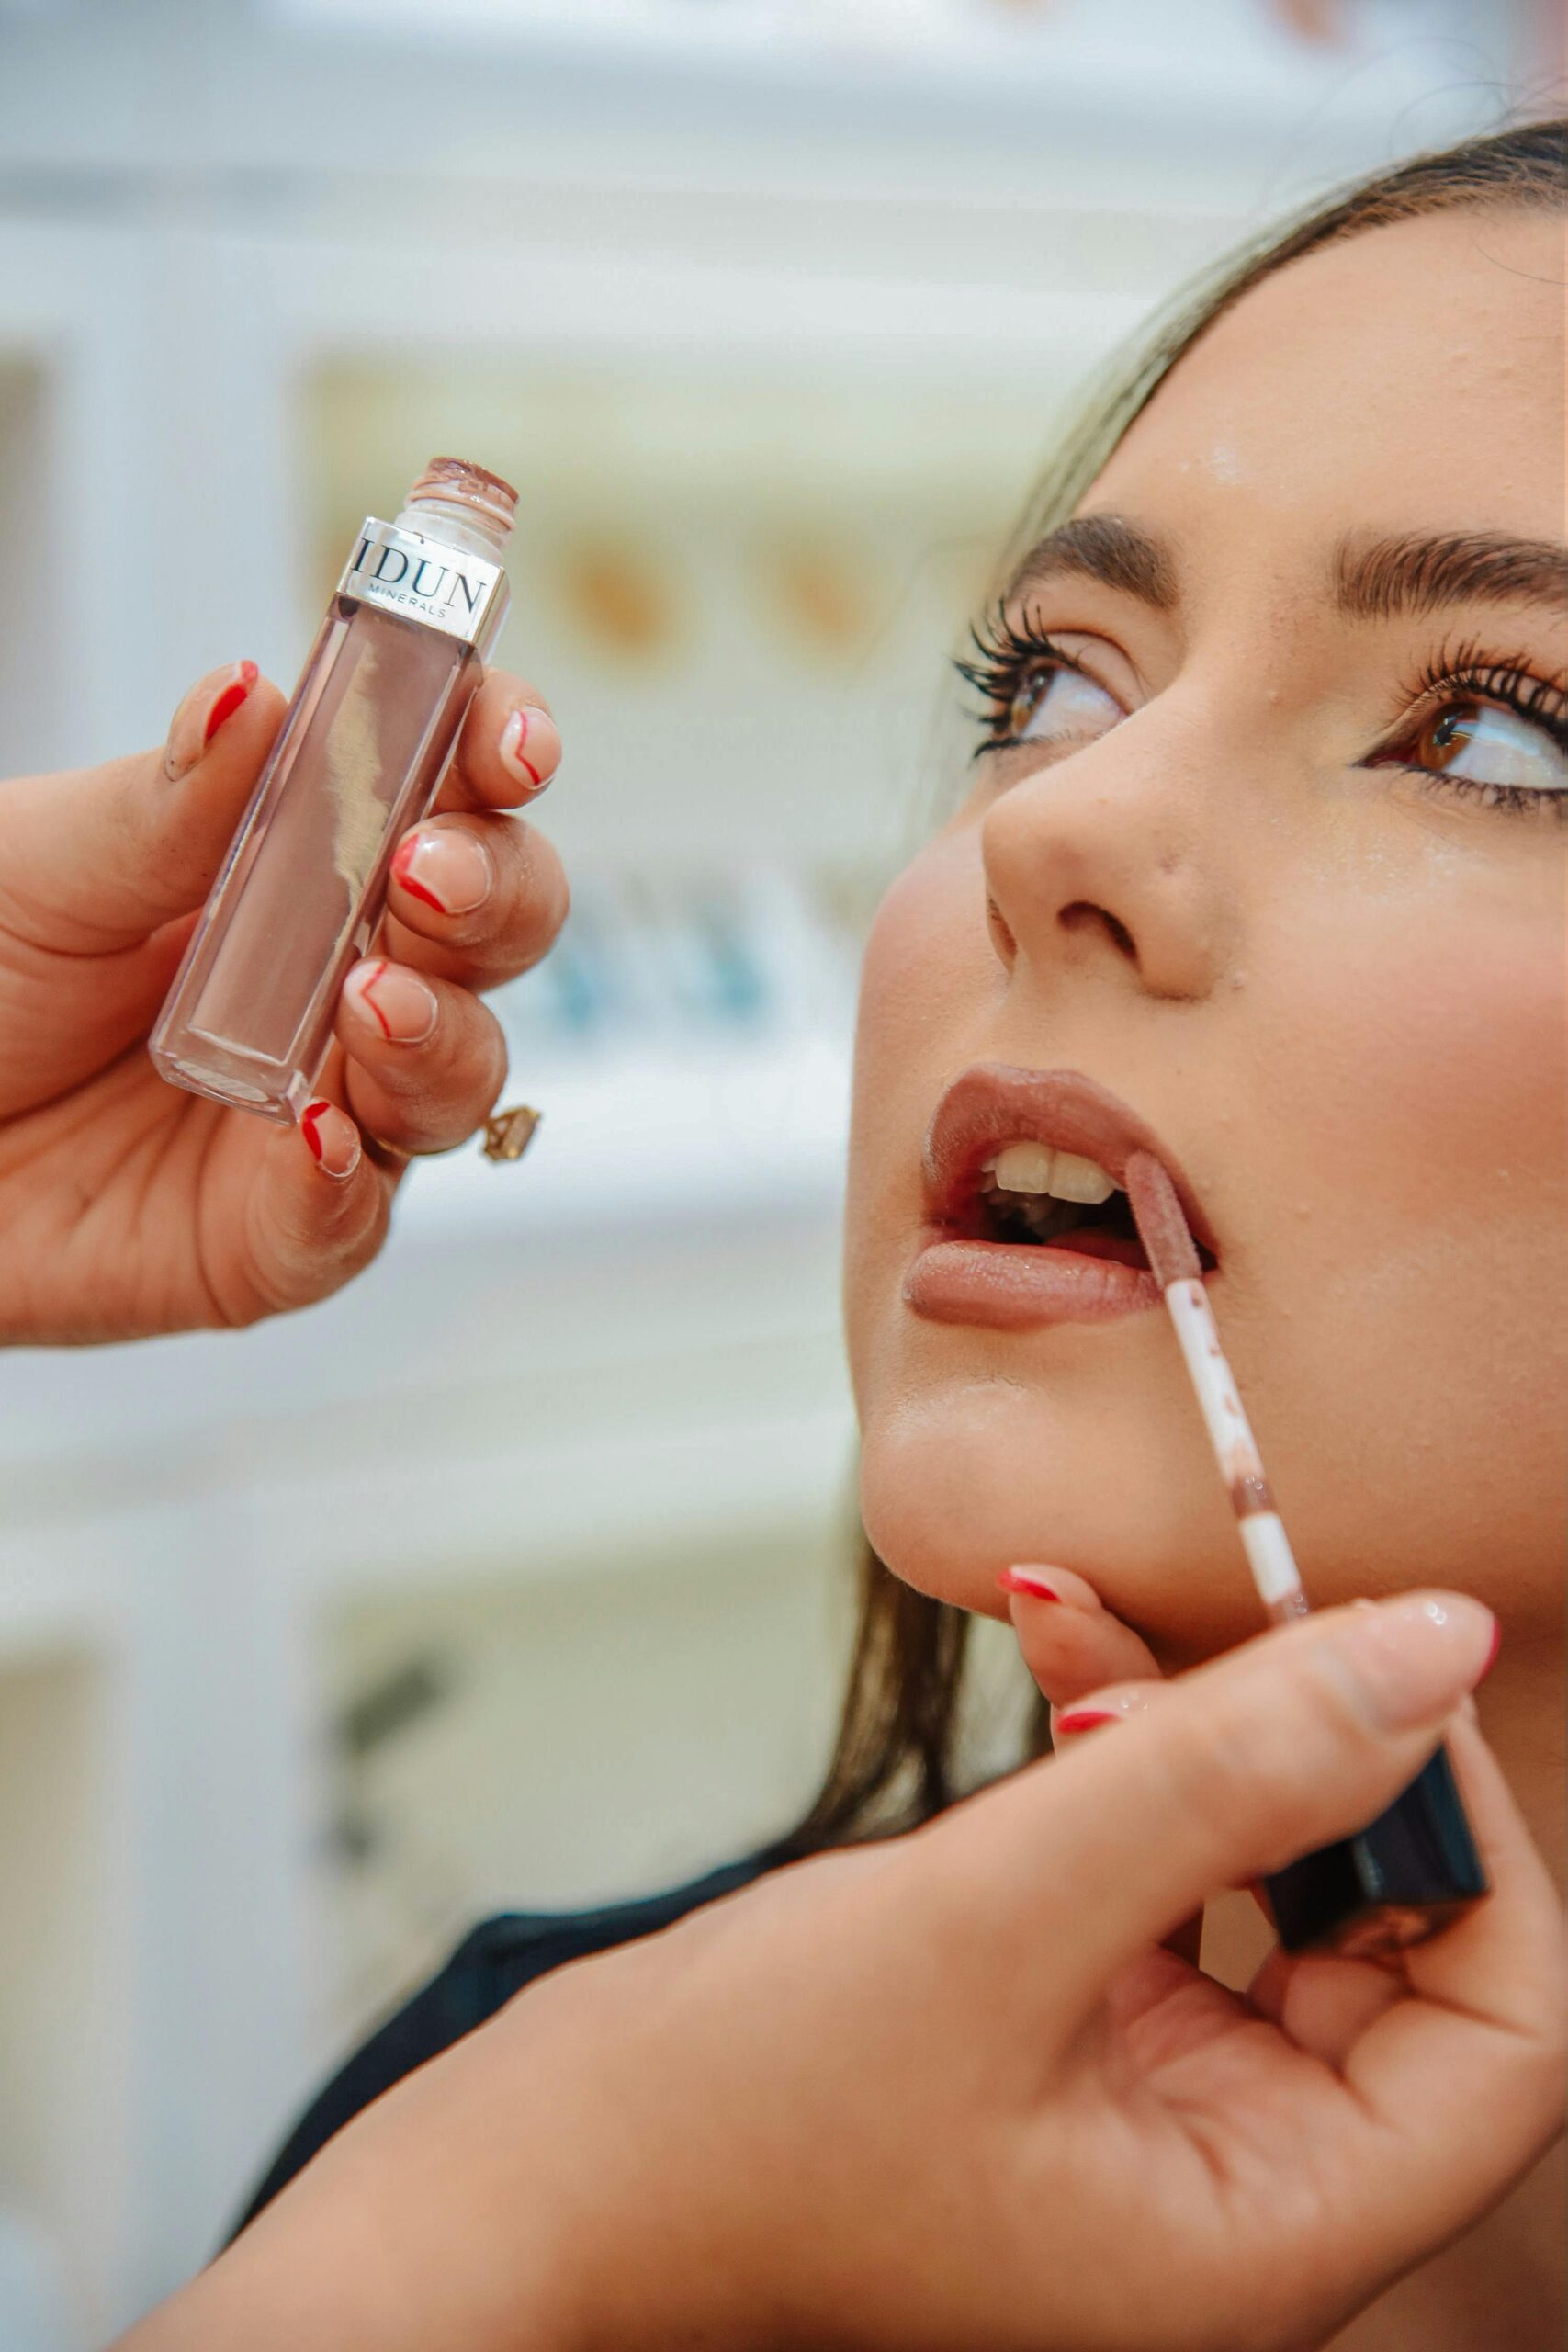
Step 6: The Perfect Bridal Lip
Brides are leaning toward “your lips but better” tones — soft pinks, peachy nudes, and rose beige shades.
Use a lip liner slightly deeper than your lipstick for definition, and lock in color with a lip primer.
Try MAC Lip Primer + Charlotte Tilbury Pillow Talk Lipstick for the perfect combo.
Complete Your Look
- Always do a trial run a few weeks before your wedding.
- Test your look in natural and artificial light.
- Keep a mini touch-up kit: powder, lipstick, sponge, and blotting sheets.
A DIY bridal look isn’t just about saving money — it’s about feeling confident, beautiful, and authentically you.
